

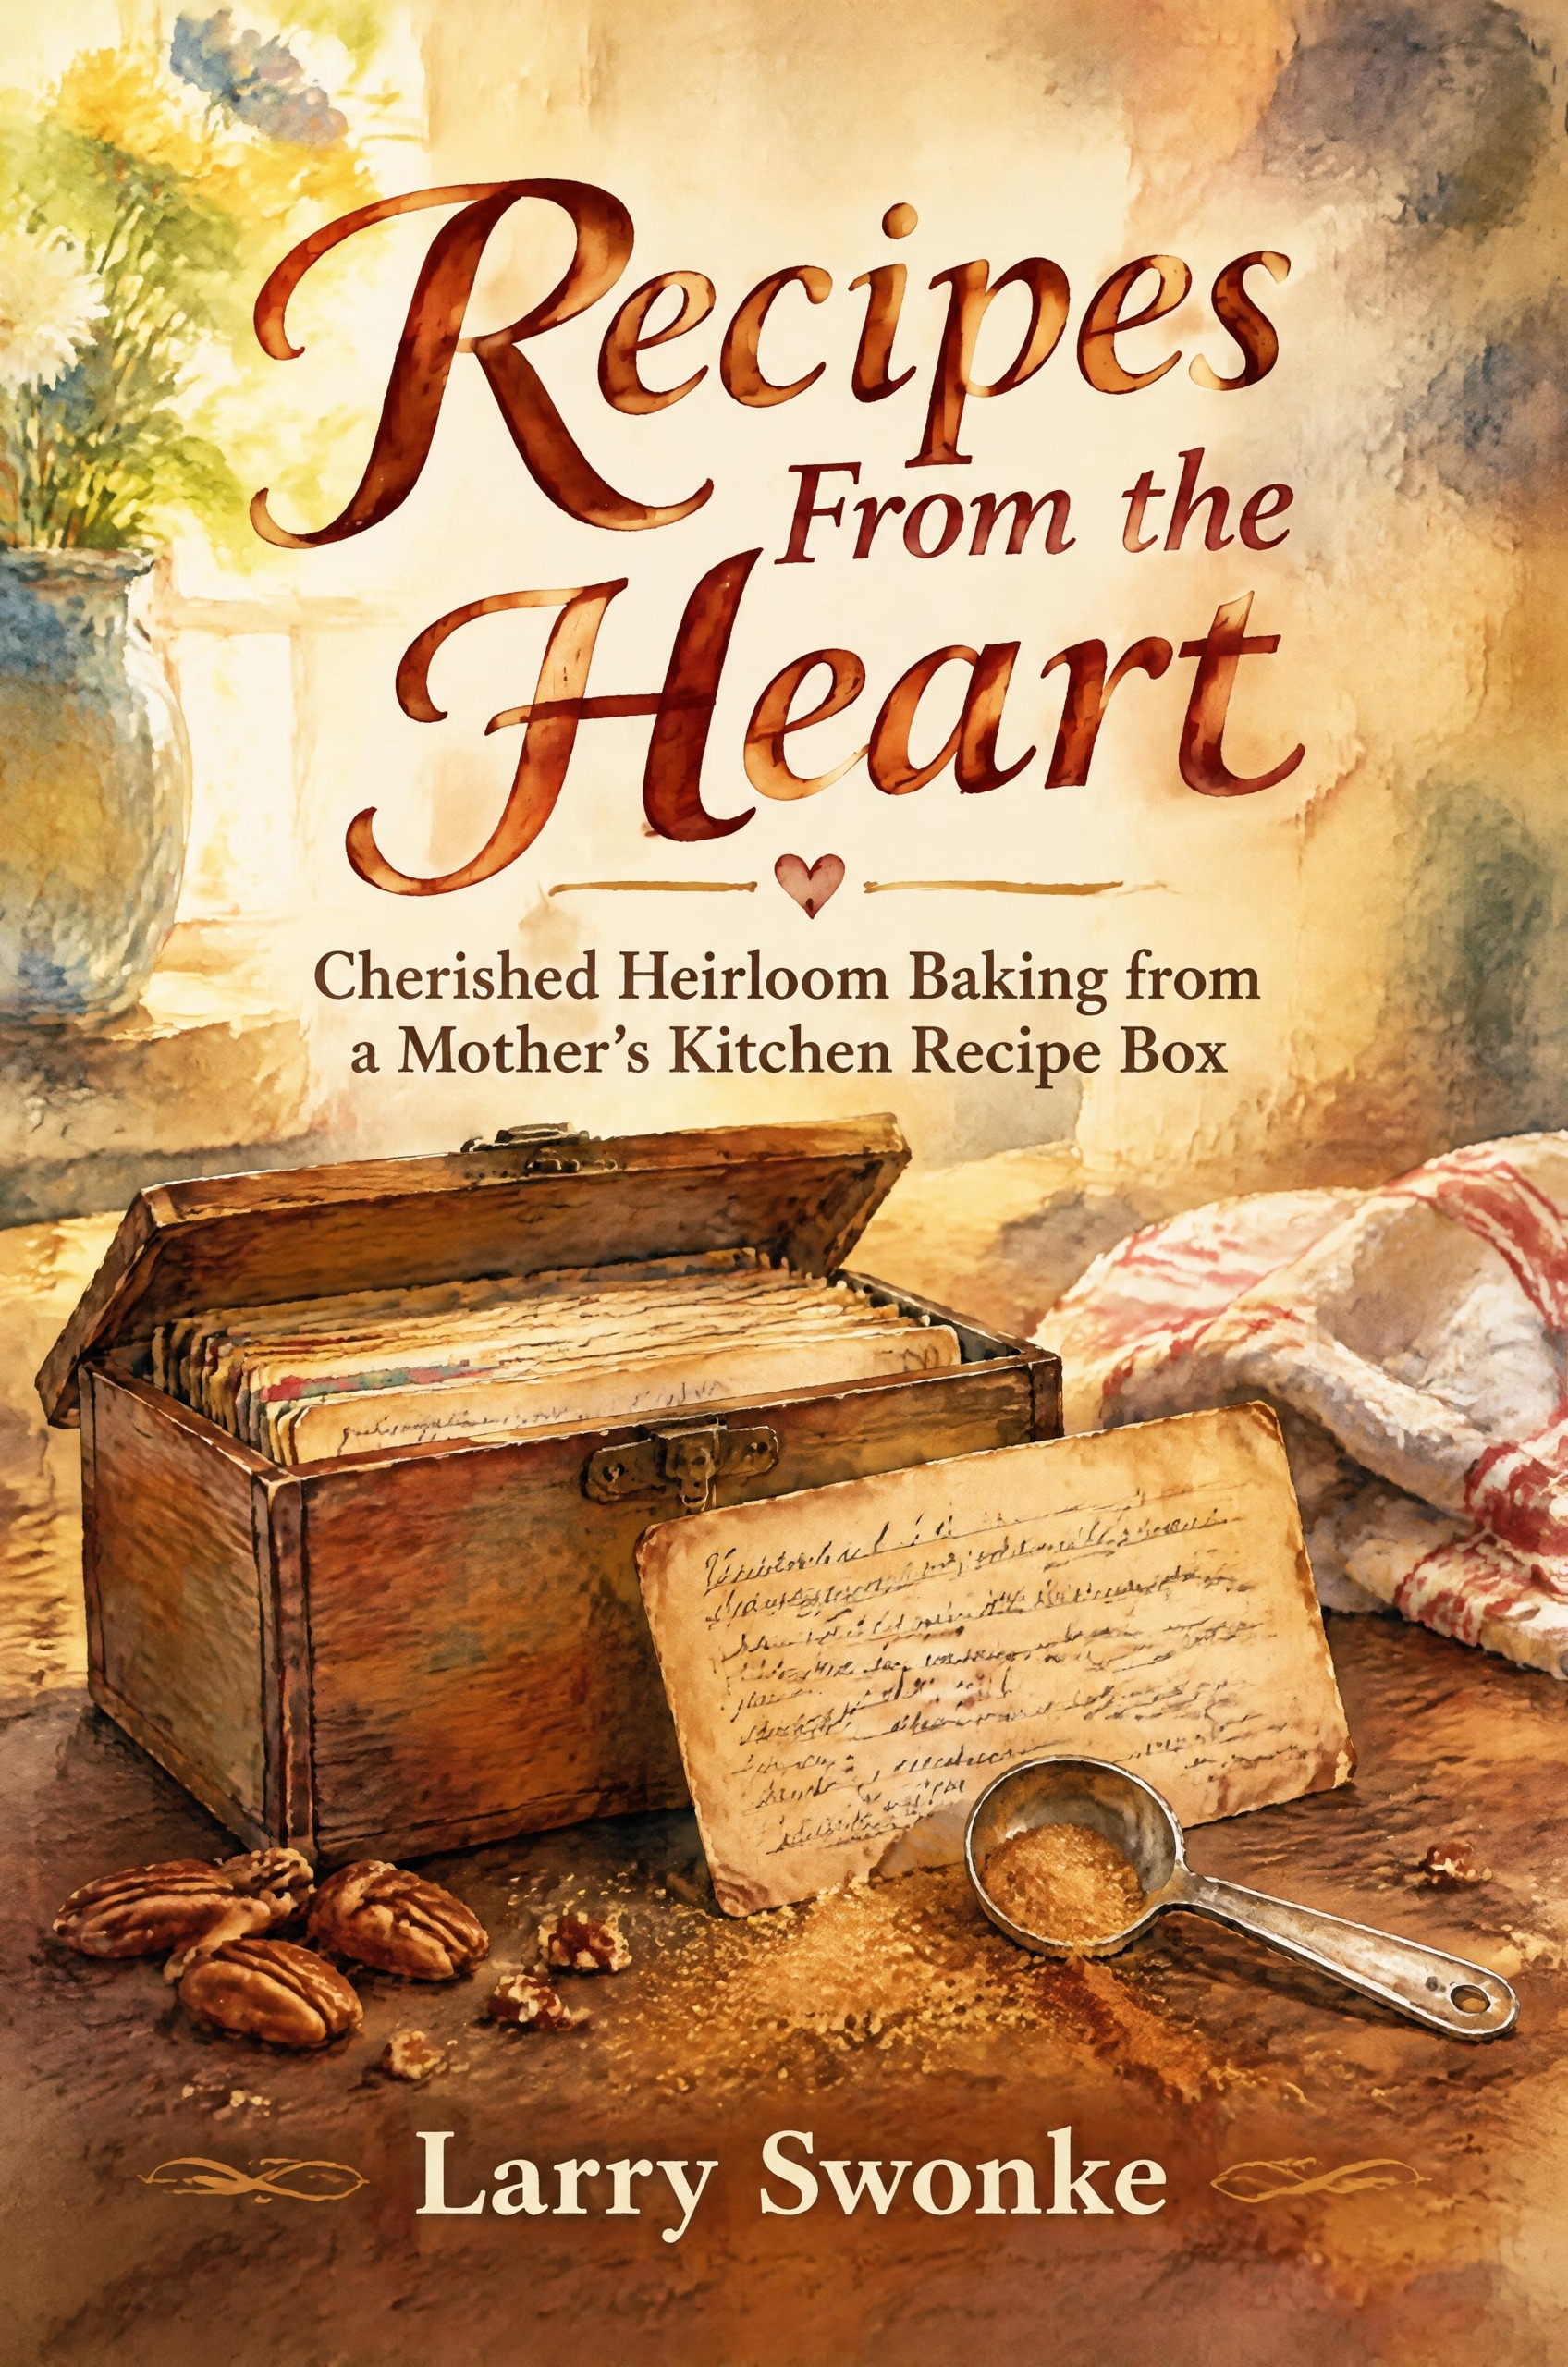
Recipes from the heart
Cherished Heirloom Baking from a Mother's Kitchen Recipe Box
by larry swonke
Before pre-packaged mixes and endless internet feeds, true home baking lived on handwritten index cards tucked inside a beloved kitchen box. In Recipes from the Heart, Larry Swonke opens that worn wooden keepsake to share a rich legacy of heirloom family sweets. Divided into three nostalgic chapters, this collection celebrates the simple joy of pantry staples transformed into unforgettable treats. Discover company-worthy cakes like candied Bishop's Cake, Burnt Sugar Cake, skillet Peach Upside-Down Cake, and classic German Chocolate Cake with coconut-pecan icing. Fill your kitchen with the comforting aromas of daily breads and muffins, from Chocolate Date Nut Bread baked in metal cans to griddled English Muffins and traditional yeast dinner rolls. Round out your baking with sweet weekly staples, including spiced Applesauce Jumbles, stovetop Brown Sugar Fudge, and decadent Frosted Flakes chocolate brownies. Accompanied by personal reflections that capture the warmth and spirit of traditional home baking, this cookbook is an enduring celebration of family tradition. Whether you are seeking genuine mid-century nostalgia or timeless comfort food, Recipes from the Heart brings the sweetness of home back to your table.
- Cookbook
- Baking & Desserts
- Comfort Food
- Family Cooking
A Box in the Kitchen
You pull open a drawer in an old kitchen cabinet and your fingers hit the corner of a tin box. Inside are index cards with butter-stained edges, written in ballpoint ink that has faded over thirty or forty years. You see a handwriting you would know anywhere, listing two cups of sugar, a pinch of salt, and a cup of chopped nuts. If you have ever inherited a collection like that, you know that those cards are far more than instructions for stirring batter. They are family records that capture how people cared for one another every week through simple food.
I learned my own love of cooking standing right beside my mother in our kitchen, helping her turn pantry staples into sweet desserts. Her recipes were filed neatly in a special recipe box that sat on the counter. When you grow up around good food made from scratch, you assume those routines will always be right there in front of you. Over the years, life moves along, families grow, and those everyday kitchen moments slip into the background. I had forgotten about her recipe box until my parents moved to assisted living in 2000. Going through their belongings brought those cards back into the light. When my mother passed away in 2008, I knew I wanted to find a way to honor her and the dedication she showed in raising and caring for our family of seven. Publishing copies of her handwritten recipes became my way to keep her work alive.
Mom usually made desserts only once a week, and it was a ritual for her. She did not throw things together at the last minute on a busy evening. The day before she planned to bake, she picked the exact recipe she wanted to make and checked every canister and jar to ensure all the ingredients were on hand. If she was missing a spice or running short on raisins, she made sure it was in the house before she started.
On baking day, her preparation had a steady, deliberate rhythm. She cleared off a clean workspace on the kitchen counter, washing and wiping the surface so nothing was in the way. Then she lined up every ingredient, measuring spoon, and mixing bowl in a disciplined row across the counter before measuring out a single cup of flour. That disciplined order kept baking calm and predictable, even when the house was full of noisy kids. When you prepare your kitchen that way, you never find yourself halfway through creaming shortening only to discover that your baking soda is missing.
Here is how she structured her weekly baking ritual:
- Select the bake early: Choose the recipe twenty-four hours ahead so you can read through the steps without rushing.
- Verify your stores: Check every pantry staple the day before to confirm you have enough sugar, fat, leavening, and mix-ins.
- Clear the counter: Wipe down a wide work surface completely before bringing out equipment.
- Stage your equipment: Set out bowls, measuring cups, and beaters in the exact sequence you plan to use them.
- Line up ingredients: Measure out items in their bowls before combining anything.
Does your own kitchen feel calm when you bake, or do you find yourself digging through cupboards while your batter sits waiting on the counter?
Even with her careful habits, baking did not always go according to plan. Mom once baked a 5-layer cake where the layers completely failed to rise. Instead of light, airy tiers, she ended up with five dense, flat rounds of cake. A lot of home bakers would have tossed them into the trash bin in frustration, but Mom never wasted food. She went ahead and assembled the cake, iced every flat layer, and made us eat it. While it was not her best bake, I still think that cake tasted better than anything you could buy in a store today. Real butter, honest sugar, and fresh eggs carry a flavor that factory cakes packed with stabilizers and artificial vanilla can never match.
Bringing the Kitchen Archive to Life
Preserving these vintage recipes means understanding how home kitchens operated several decades ago. Today, modern supermarket aisles are lined with endless specialty flours, digital probe thermometers, and nonstick pans of every shape. Mom worked with heavy aluminum, sturdy mixing bowls, a manual sifter, and a dependable oven. When you bake from vintage cards, you are stepping back into an era when recipes used practical measurements and straightforward techniques that any home cook could manage.
To help you understand how vintage baking differs from modern recipes, consider these everyday comparisons:
| Vintage Kitchen Practice | Modern Commercial Practice | Baking Result |
|---|---|---|
| Solid shortening or real butter | Liquid vegetable oils and emulsifiers | Tender, flaky crumb with rich mouthfeel |
| Triple-sifted dry ingredients | Pre-sifted commercial flour mixes | Even distribution of spices and leavening |
| Hand-creamed sugars and fats | High-speed automated blenders | Fine, dense crumb structure without excess air |
| Weekly planned baking session | Quick pre-packaged box mixes | Deep, developed flavor from simple ingredients |
You do not need an elaborate kitchen setup to make these vintage treats. You only need a few durable basics that stand up to regular mixing, folding, and kneading:
- Heavy tube pans and angel food tins: Essential for deep spice cakes and fruit bakes that need steady heat distribution.
- Standard 9-inch layer pans: Perfect for multi-tiered cakes and traditional birthday layers.
- A sturdy wire sifter: Necessary for running flour, spices, and leavening together so every bite has balanced flavor.
- A dependable cast-iron skillet: Great for stovetop fruit sauces and upside-down skillet cakes.
- Clean glass mixing bowls: Sturdy enough for beating egg whites to stiff peaks without greasy residue.
Later in this book, we will explore the recipes Mom perfected over decades of feeding our household, starting with homestyle cakes and icings, continuing through griddle breads and yeast loaves, and finishing with cookies and brownies. You will find that these recipes rely on dependable pantry staples like applesauce, brown sugar, dates, and chopped pecans to build rich flavors without complicated steps.
Before you jump into the mixing bowl, take a moment to set yourself up for success. What recipe in your own family collection deserves to be dusted off and brought back to the table?
Try This: Set Up Your Counter the Vintage Way
Before you bake your next dessert, try running your kitchen using Mom's staging routine. It takes only ten minutes, but it completely changes the rhythm of your baking:
- Pick your recipe tonight: Choose one simple cake, bread, or cookie recipe to bake tomorrow afternoon.
- Audit your pantry: Pull out your flour, sugar, leavening, and spices to verify that you have enough of each item before you go to sleep.
- Clear the counter tomorrow: Remove all clutter, mail, and unrelated appliances from your primary kitchen counter and wash it clean.
- Stage your dry ingredients: Measure out your flour, baking soda, salt, and spices into one bowl, running them through a sifter so they are ready to combine.
- Stage your fats and liquids: Set your butter or shortening out to reach room temperature, and measure your milk, water, or eggs into separate prep cups.
- Line up the sequence: Arrange the bowls from left to right in the exact order the recipe calls for them — fat and sugar first, eggs second, sifted dry goods third, and liquids fourth.
Notice how different the baking process feels when everything is measured and sitting in line. You can focus entirely on the texture of the creamed sugar or the fluffiness of beaten egg whites without searching through cabinets. That quiet focus is where good homestyle baking truly begins.
Cakes
Cakes meant a special occasion. Birthdays, company coming over or parties. I can only remember a couple of times a year when Mom would bake a cake just because she felt like it.3/4 cup shortening1/2 teaspoon salt2 cups granulated sugar1/2 teaspoon cloves2 eggs1 teaspoon nutmeg3 cups flour minus 2 tablespoons2 teaspoons cinnamon1 teaspoon baking po…