


The Benefits of Outlining
Some writers resist outlining, thinking it kills creativity. In reality, most successful authors are outliners. Even those who claim to write by the seat of their pants often have a mental outline they're working from. Outlining is just one stage of the step-by-step book-writing guide.
Prevent Plot Holes
Spot inconsistencies and logical gaps before you write them into existence.
Write Faster
When you know what happens next, you can focus on how to write it, not what to write.
Beat Writer's Block
Your outline tells you exactly what scene comes next, eliminating blank page paralysis.
Maintain Pacing
See your story's structure at a glance and ensure proper tension throughout.
Choose Your Outlining Method
Different methods work for different writers and genres. Explore these options.
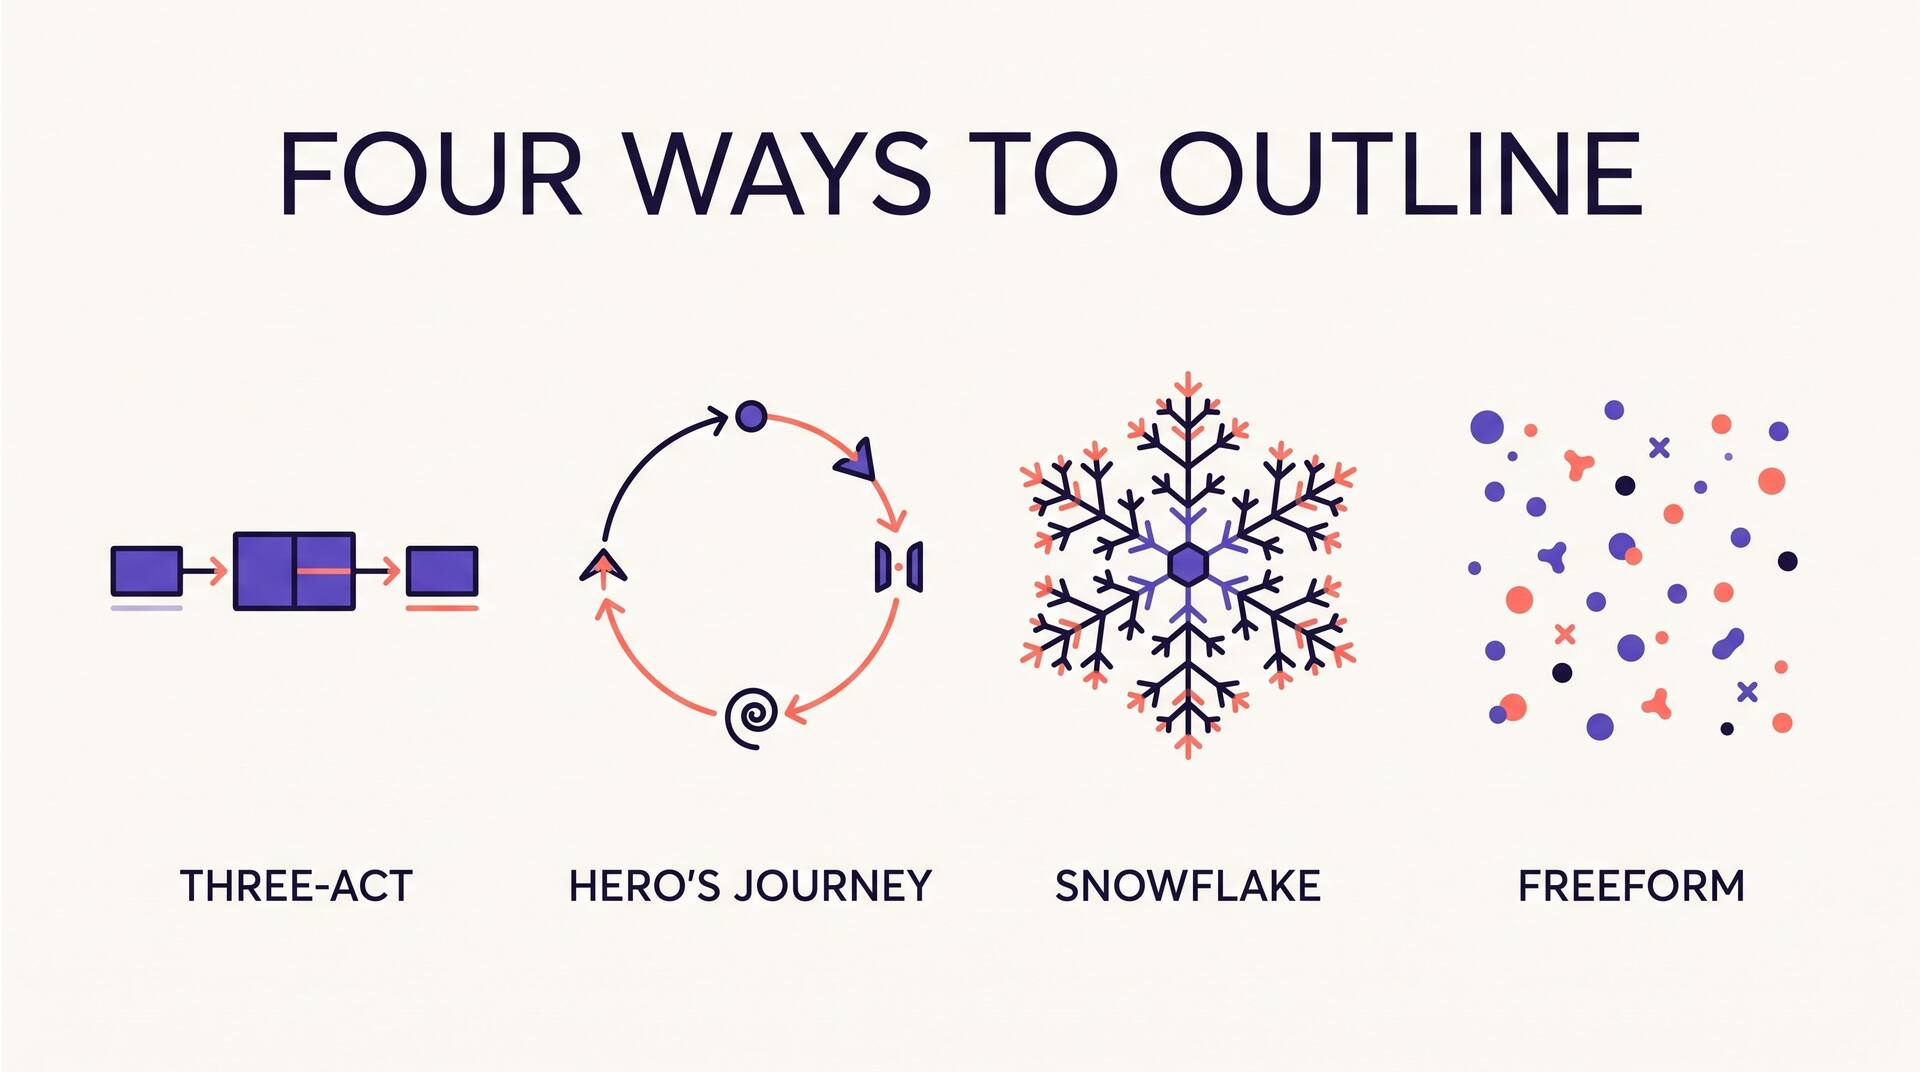
Three-Act Structure
The classic storytelling framework used in most novels and films. Divides your story into Setup, Confrontation, and Resolution. Simple yet effective for any genre.
Introduce your protagonist in their normal world. Establish what they want and what's at stake. End with an inciting incident that launches the main conflict.
Ready-to-Use Templates
Copy these templates and fill them in with your story details.
Fiction Novel Template
PREMISE:
[One sentence: Who wants what and what's stopping them?]

PROTAGONIST:
- Name:
- Goal:
- Flaw:
- Arc:

ANTAGONIST:
- Name:
- Goal:
- Connection to protagonist:

ACT 1 (Chapters 1-5):
- Opening scene:
- Normal world:
- Inciting incident:
- Decision to act:

ACT 2A (Chapters 6-12):
- First obstacle:
- Ally introduction:
- Midpoint reversal:

ACT 2B (Chapters 13-18):
- Stakes raised:
- Major setback:
- Dark moment:

ACT 3 (Chapters 19-25):
- Decision/realization:
- Climax scene:
- Resolution:
- Final image:
Non-Fiction Book Template
CORE PROMISE:
[What transformation will readers experience?]

TARGET READER:
[Who is this for and what problem do they have?]

INTRODUCTION:
- Hook:
- Problem statement:
- Your credibility:
- Book promise:
- Chapter overview:

PART 1: FOUNDATION
- Chapter 1: [Core concept]
- Chapter 2: [Why it matters]
- Chapter 3: [Common mistakes]

PART 2: IMPLEMENTATION
- Chapter 4: [Step 1]
- Chapter 5: [Step 2]
- Chapter 6: [Step 3]
- Chapter 7: [Advanced tactics]

PART 3: MASTERY
- Chapter 8: [Troubleshooting]
- Chapter 9: [Case studies]
- Chapter 10: [Next steps]

CONCLUSION:
- Summary:
- Call to action:
- Resources:
Memoir Template
CENTRAL THEME:
[What universal truth does your story illustrate?]

TRANSFORMATION:
- Who I was at the start:
- Who I became:
- What changed me:

TIMELINE:
- Starting point:
- Key turning points:
- Ending point:

SCENES TO INCLUDE:
1. Opening scene (show the problem):
2. Background/context scene:
3. First major challenge:
4. Lowest point:
5. Turning point moment:
6. Resolution/new normal:

SUPPORTING CHARACTERS:
- Name + role:
- Name + role:
- Name + role:

REFLECTIVE ELEMENTS:
- Lessons learned:
- What I'd tell my past self:
- Universal takeaway:
Outlining Best Practices
Start Loose
Your first outline should be flexible. Don't over-detail before you understand your story.
Focus on Conflict
Every scene needs conflict. If a scene doesn't have tension, it probably doesn't need to exist.
Know Your Ending
Even if everything else changes, knowing your destination helps you navigate the journey.
Leave Room for Discovery
Some of your best ideas will come while writing. Outlines should guide, not constrain.
Use Visual Tools
Try index cards, mind maps, or timeline software. Some stories are easier to see than read.
Revise Your Outline
As you write, your outline will change. That's normal. Update it to reflect new discoveries, and AIWriteBook's outline builder makes regenerating and reshaping it effortless.
Your Outline Awaits
You don't need a perfect outline to start writing. You need a good-enough outline that gives you direction while leaving room for the magic that happens when words meet page. For the stages that follow, see the full guide to writing a book.
Choose a method that feels right, use a template to get started or generate a complete outline in minutes, and remember: the best outline is one that helps YOU write YOUR book.